
Connecting backends
No accounts, no subscription, no markup — browsa simply brings your own model endpoints into the side panel. Cloud, local, or self-hosted: all welcome.
Two kinds of backends
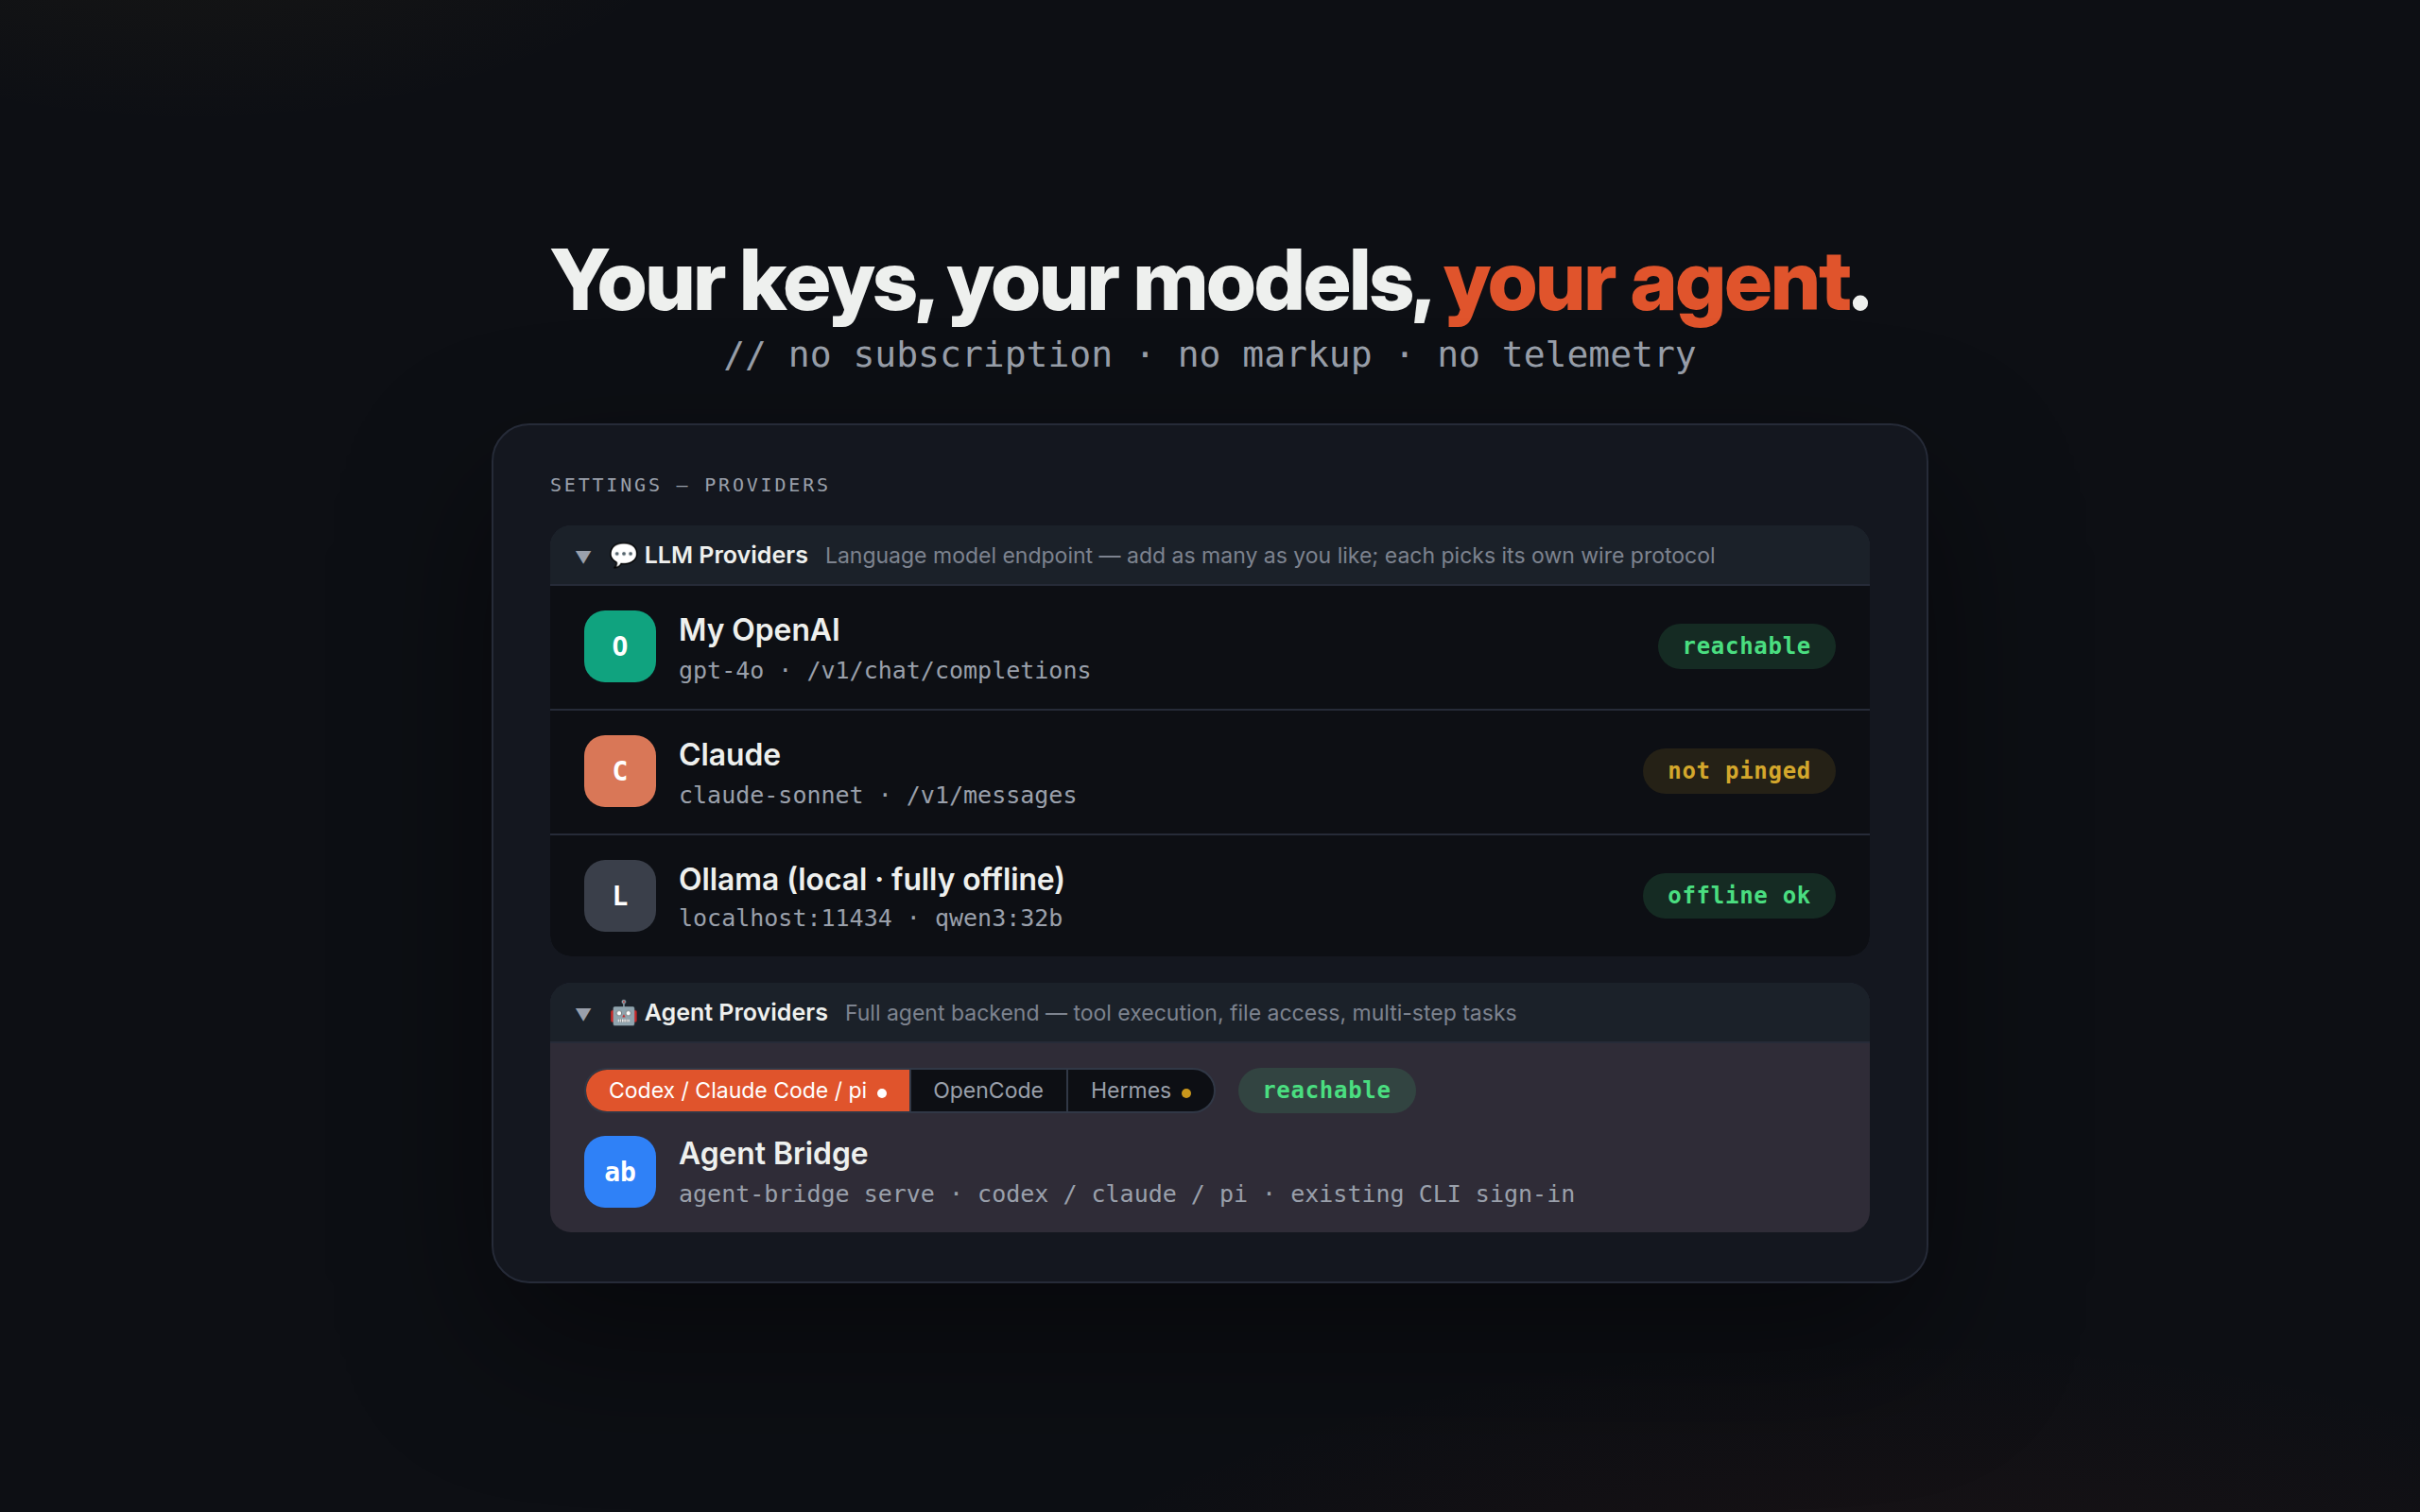
- LLM providers — plain chat endpoints, covering nearly every service: OpenAI, Anthropic, Ollama, Groq, LiteLLM, aggregation gateways.
- Hermes Agent — a self-hosted agent with server-side tool execution: it can search, run commands, and operate files. Built into browsa; just point it at your server.
- OpenCode Agent — the opencode CLI agent with its first-party headless server. Also built in: one command starts the server, browsa connects directly.
- Agent Bridge — a bridge to local CLI agents (codex, claude, pi…): a standalone daemon turns local CLI agents into one unified-protocol backend, and a single card connects to several agents at once.
When you switch to any agent, browsa asks what to do with the current conversation — carry it over as the new agent's first message, or start a new session from scratch; every reply is labeled with the provider / agent that produced it.
Filling in a provider card
Open ⚙ Settings → LLM Providers. An empty LLM 1 card is reserved for you — fill it in and Save, or use + Add Provider anytime:
| Field | What to put |
|---|---|
| Alias | A name you choose ("My OpenAI", "本地模型") — shown in the sidebar dropdown so multiple cards stay distinguishable |
| Base URL | Root path only, e.g. https://api.openai.com — protocol paths are appended automatically |
| API Key | Your key, stored locally only (see privacy) |
| Model ID | Required, e.g. gpt-4o; comma-separate several — one card covers an entire gateway's catalog |
| API protocol | What this endpoint speaks: Chat Completions / Responses / Anthropic |
Save, then hit Ping: connectivity is verified and capabilities auto-detected. The first provider to ping successfully becomes active automatically; switch anytime from the dropdown at the top of the panel — multi-model cards expand to one "Alias · model" entry each.
Hermes Agent
Hermes is a self-hosted AI agent with built-in tools (web search, terminal, files, memory). browsa speaks its /v1/runs protocol — which adds live tool progress and approval cards for dangerous actions (approve first, execute after):
- Install:
pip install hermes-agent(or follow the official guide); - Add to
~/.hermes/.env:API_SERVER_ENABLED=trueandAPI_SERVER_KEY=your-secret-key; - Start:
hermes gateway— look forAPI server listening on http://127.0.0.1:8642; - In browsa settings, select the Hermes Agent card, fill Base URL (e.g.
http://127.0.0.1:8642) and API Key, then Ping.
The Hermes card is fixed and always present; it needs only a Base URL and key — the protocol is auto-detected, falling back to plain chat if the server doesn't advertise /v1/runs.
Self-hosting: server-side settings for faster replies
By default Hermes mounts its full toolset for API clients — the definitions of a dozen-plus tool groups (terminal, browser, cron jobs, …) ride along with every request (about 23K tokens measured), and casual page Q&A uses a fraction of them. Thinking mode is also on by default, and that wait lands before the first word. Tighten both in ~/.hermes/config.yaml:
platform_toolsets:
  api_server:          # affects API clients (browsa) only — Telegram etc. keep their own
    - web              # search, page extraction
    - vision           # image understanding
    - clarify          # follow-up questions
    - memory           # cross-session memory
agent:
  reasoning_overrides: # per-model thinking effort (the global knob is agent.reasoning_effort)
    your-model: medium
Run hermes gateway restart to apply. Measured by the author (qwen3.8-flash, an 80K-token context): the slimmed toolset sheds about 14K tokens per request, and the lower thinking effort directly cuts the wait before the first word. Also note that model services generally accelerate consecutive follow-ups within ~5 minutes via prefix caching — asking in a row is much faster than returning after a few minutes. That part is on the model side; nothing to configure.
OpenCode Agent
opencode is an open-source CLI agent that ships a first-party headless server — browsa connects to it directly (multi-turn context lives in the opencode session; browsa just sends your turns). The agent works on whatever directory the server was started in:
- Install:
npm i -g opencode-ai, then follow the first-run login flow; - Start:
opencode serve --port 4096. Pin the port — bareopencode servepicks a random one that changes on every restart; a pinned port is a set-and-forget config in browsa; - In browsa settings, select the OpenCode Agent card, fill Base URL
http://127.0.0.1:4096(the placeholder suggests it), then Ping.
When opencode wants to run a dangerous action (like a shell command), the approval card appears right in the browsa panel. To enable that, mark the permissions as ask-once in ~/.config/opencode/opencode.json:
{
  "permission": { "bash": "ask", "edit": "ask" }
}
Agent Bridge
agent-bridge is a tiny standalone local daemon: it adapts CLI agents — codex, claude, pi — to one unified local HTTP protocol. A ChatGPT Plus / Claude Pro subscription login works as the model source — no separate model-API purchase needed; pi runs on whatever model providers you configure inside it.
Prerequisites: Node.js 18+ on the machine, plus the agent CLI you want to bridge, logged in (codex: npm i -g @openai/codex then codex login with your ChatGPT subscription account; claude: npm i -g @anthropic-ai/claude-code, run it once to log in, then npm i -g @agentclientprotocol/claude-agent-acp; pi: npm i -g @earendil-works/pi-coding-agent pi-acp, run pi once to pick its model providers (Node 22+ required)).
- Install the bridge (published on npm):
npm i -g @xiaohuzai/agent-bridge # or try without installing: npx @xiaohuzai/agent-bridge serve
- Prepare a config — every bridge, single or many, is one entry in
agents.json; ports live in the config:cp "$(npm root -g)/@xiaohuzai/agent-bridge/agents.example.json" agents.json chmod 600 agents.json
{ "bridges": [ { "name": "codex", "port": 3948, "apiKey": "", "sandbox": "workspace-write", "approval": "on-request" }, { "name": "claude", "port": 3949, "apiKey": "" }, { "name": "pi", "port": 3950, "apiKey": "" } ] } - Start it (from the directory holding
agents.json):agent-bridge serve # reads ./agents.json agent-bridge serve --config /path/to/agents.json # explicit config path # add --bind 0.0.0.0 to expose it beyond this machine (then every entry needs an apiKey)
- In browsa ⚙ settings, select the Agent Bridge card and click + Add agent to add bridge addresses one per row (one agent per address, e.g.
http://127.0.0.1:3948). Each row also takes an optional alias and that bridge's own API key — that key is the bridge's own access token (apiKeyinagents.json), not a model-service key; leave both empty for purely local use; - Hit Ping — every address is probed; rows with an empty alias are auto-filled from the agent name returned by /health, and everything shows in the status (e.g.
×3/3 healthy (codex, claude, pi)); - Back in the sidebar, the top dropdown lists them as "Agent Bridge · codex". Each agent keeps its own independent session thread; when you switch mid-conversation, browsa asks whether to carry the conversation over or start a new session.
Don't feel like running steps 1–3 by hand? Paste the whole block below to your CLI agent (the Agent Bridge card in settings also has a "Copy setup prompt" button) and let it do the install, config, and launch — then just fill the bridge URL it reports into step 4:
Set up the agent-bridge daemon on this machine so the browsa browser extension can reach me over local HTTP:

1. Install globally (Node >= 18, zero dependencies): npm i -g @xiaohuzai/agent-bridge
2. Create agents.json in a fixed working directory (the package's own agents.example.json and README are authoritative for the entry shape), adding an entry for yourself. If you are codex, keep "approval": "on-request" (otherwise approval prompts never reach browsa) and "sandbox": "workspace-write":
   {"bridges":[{"name":"codex","port":3948,"apiKey":"","sandbox":"workspace-write","approval":"on-request"}]}
   Other CLI agents (e.g. claude, pi) only need name/port/apiKey.
3. Start and verify: run agent-bridge serve (reads ./agents.json by default and stays in the foreground — verify from another command): curl http://127.0.0.1:3948/health should return JSON containing your name.
4. When done, report ONLY the final bridge URL (http://127.0.0.1:PORT); I will paste it into browsa's Agent Bridge card and click Ping.

If any step fails, stop and show me the exact error — do not retry the same command in a loop.
Screenshots, pasted images, and PDF figures ride along with your message (≤8 per turn). Three reminders: approval cards need "approval": "on-request" on that bridge's entry (the default never silently refuses dangerous actions); ports live in agents.json, so after changing one update that row's address in browsa to match; pi's built-in tools run without asking (usually no approval card) and it reports no token usage.
Ollama, locally
Running Ollama on your machine? Base URL http://localhost:11434, protocol Chat Completions (Ollama speaks the OpenAI format), Model ID set to a pulled model such as qwen3:32b. Fully offline-capable.
/v1/chat/completions tail); the key is valid; a local model is actually running; your network doesn't block the domain. Errors in the panel come as classified error cards with the raw message expandable and copyable.